Required Materials:
1x Computer with an internet connection
1x MicroSD to USB Adapter
1x MicroSD card
Information on MicroSD cards
0. Charge the battery for the RVR, do not leave the battery in the RVR when you are finished working, even with the RVR switched off, it will slowly drain the battery over time.
1. Insert MicroSD card into UBS adapter and plug into computer
2. Install Raspberry Pi Imaging software
- Click here and download the Raspberry Pi OS imager.
- Once downloaded, install the imager software.
- Launch imager software
3. Write image to MicroSD card

- Make sure there are no important files on the MicroSD card, as they will be lost when imaged
- Click “Choose OS” and select the first option “Raspberry Pi OS (32-bit)”
- Select “Choose SD Card” and select the listed SD card option
- Select Write
“All existing data on ‘Mass Storage Device USB Device’ will be erased. Are you sure you want to continue?” – Yes- The imager will automatically download the lastest image, which will be close to 3Gb, and then write it to the MicroSD card, installation time will vary depending on your internet speed, but this will typically take around 30 minutes or less.
4. Safely remove and install MicroSD into Pi
- Safely eject the MicroSD to USB adapter from your computer and remove the MicroSD card from adapter
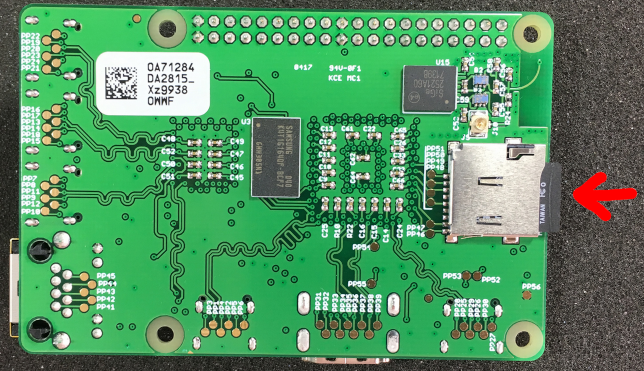
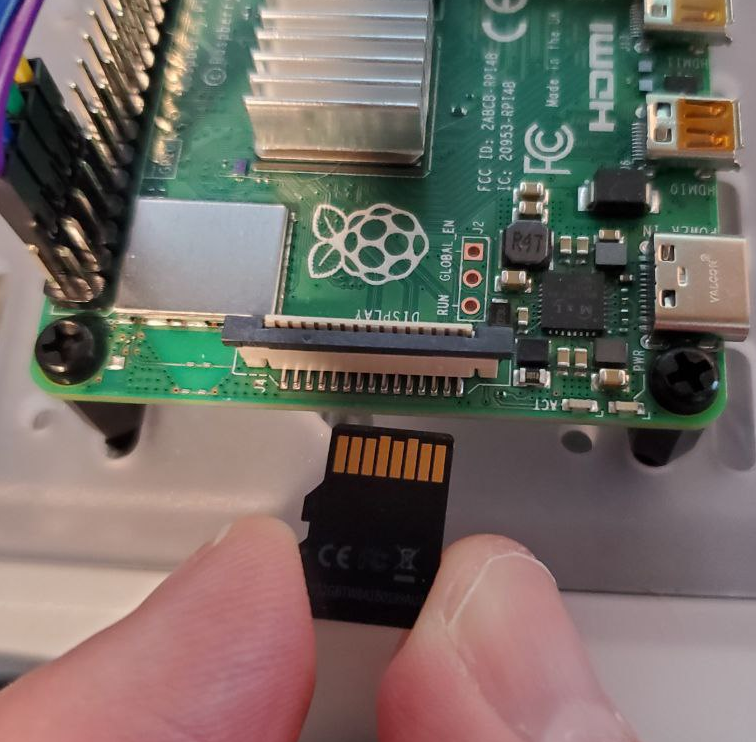
- On the underside of the Raspberry Pi is a small silver holder, insert the MicroSD card here with the copper tabs facing the board
5. We’re done here! Move onto the next section when you’re ready.
YouTube Walk-through: https://youtu.be/3Fiy9LGL9io
Next Section: Raspberry Pi – First time setup
Return to main: Raspberry Pi – Introduction and how to’s