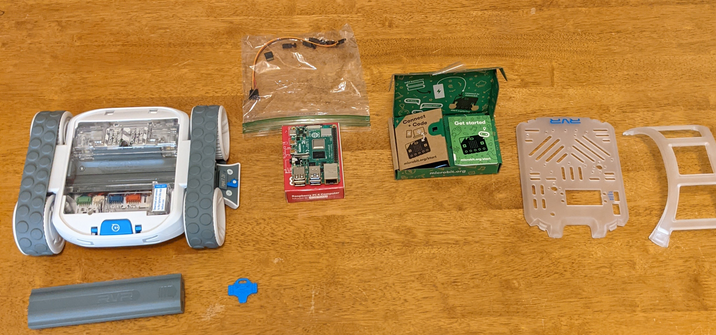
1. Taking inventory
1x Sphero RVR
1x Raspberry Pi
1x 4 pin GPIO cable (4 wires)
1x USB-A to micro-USB cable
1x Blue Sphero Battery Compartment Key (Little blue thing)
1x Sphero RVR Mounting Plate
4x Raspberry Pi Stand-Offs (screw looking things)
2. Installing battery
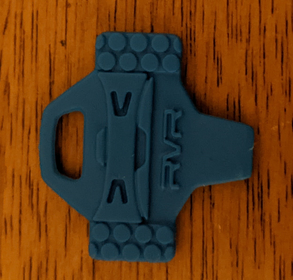
Take the blue plastic key and use it to unlock the battery tray on the side of the RVR, go ahead and slide the battery into place as shown in the picture below. Note that the RVR battery does not come full charged, it doesn’t need a full charge when you first use it; but if at least has something in it we can use it for now. Go ahead and close the battery door and lock it with the key.
Key:
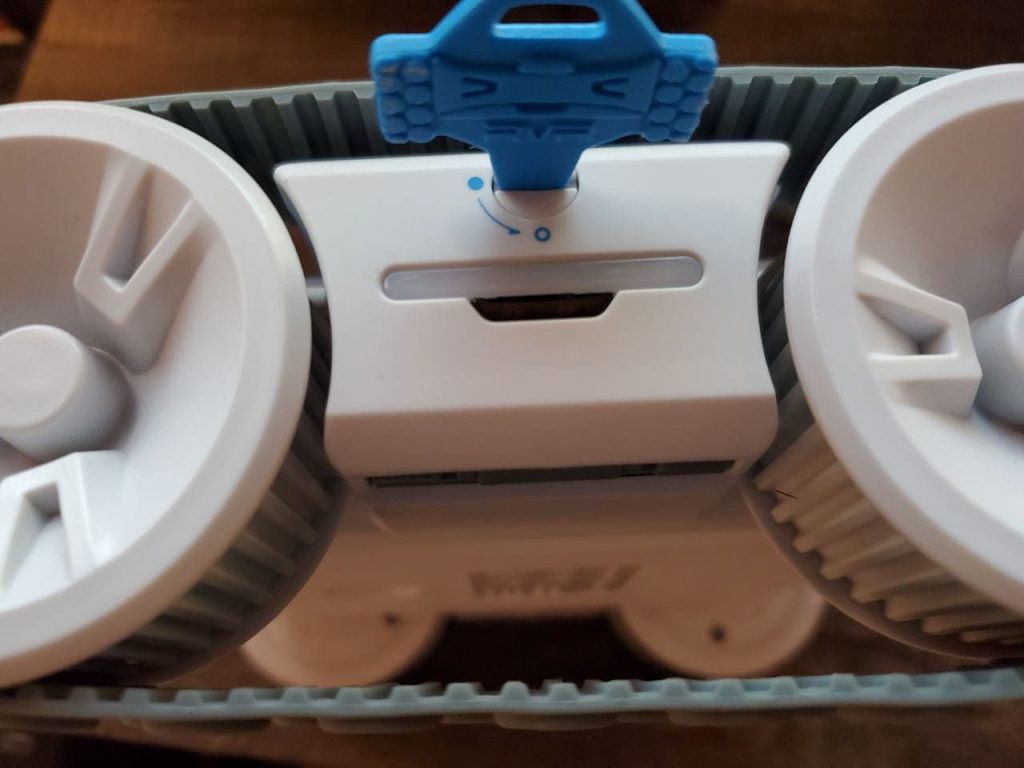
Battery in Sphero:

3. Mounting the Pi on the RVR
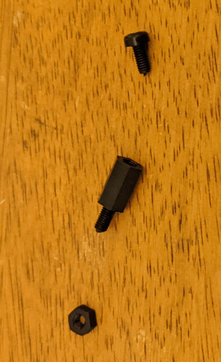
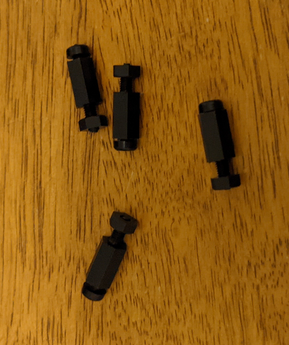
Next, grab what we call the “Stand-Off’s” You should have 4 of these total and they each break down into 3 pieces:
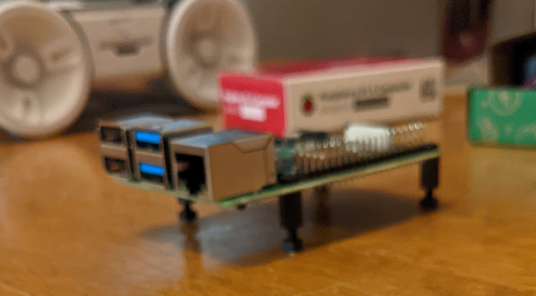
Push the part of the screw with the phillips head through the top of the Raspberry Pi on the four corners with screw holes, and screw the base back onto the threads underneath, you should get something that looks like the picture below when you’re done:
Pressing the large blue button on the top of the RVR will release the mounting cage, remove it, flip it upside down and mount the Pi to the RVR like the images below:
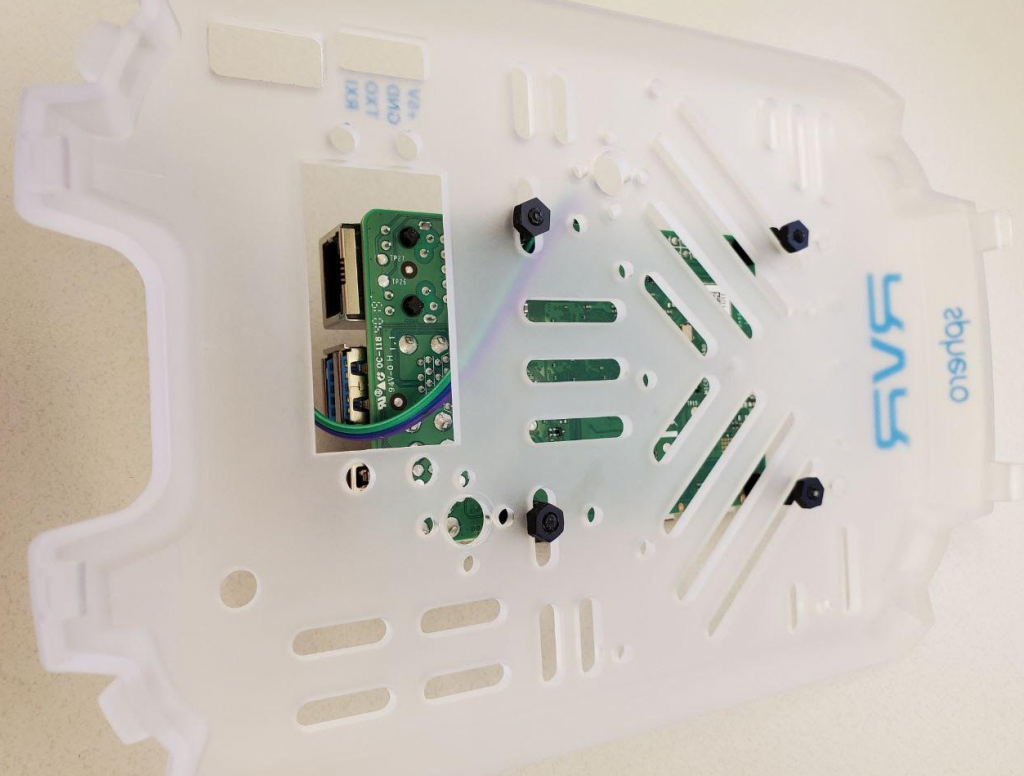
Before you gently pop the mounting cage back on, open this little door and let it slide down, we will need to keep this open for our wiring and power.

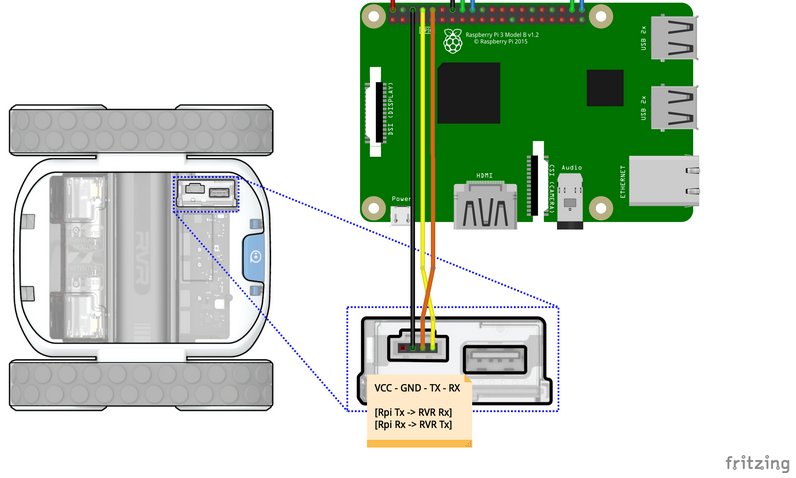
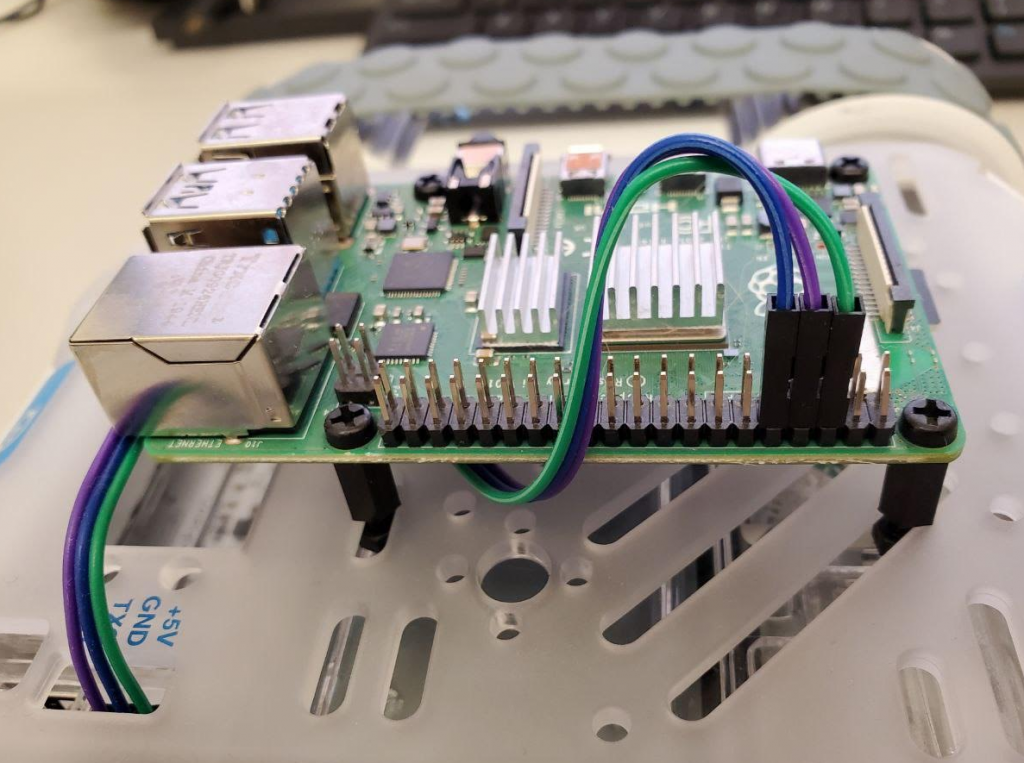
4. Wiring the Pi into the RVR
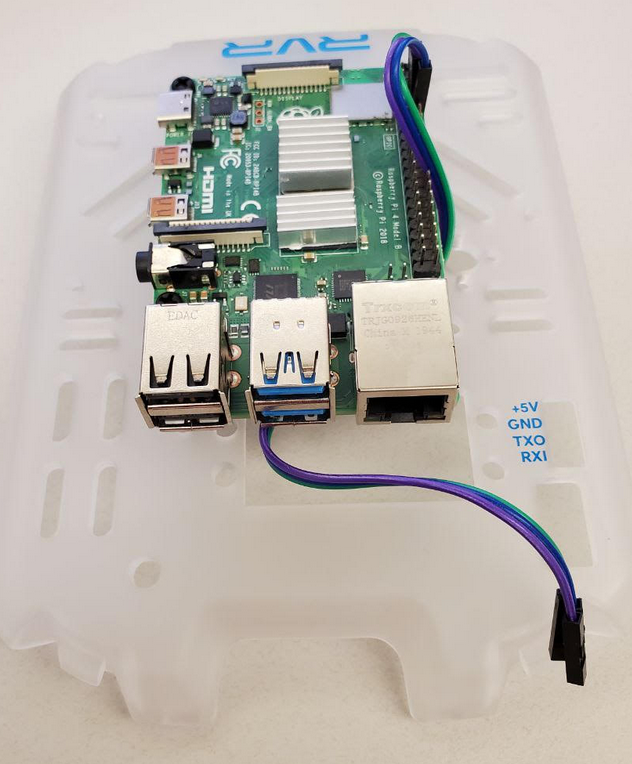
Go ahead and grab your 4 wires, we will only need three of them and they will probably be different colors from this. The important thing is the wire, in this picture, goes from the 3rd from the bottom right to the GND terminal in the RVR, the wire from the 4th terminal into the TXO, and the wire from the 5th terminal to the RXI. We do not need the +5V as our power will be coming from when we hook up the USB cable. Remember, your wires will probably be different colors, just match the terminals from the Pi to those in the Sphero as pictured.
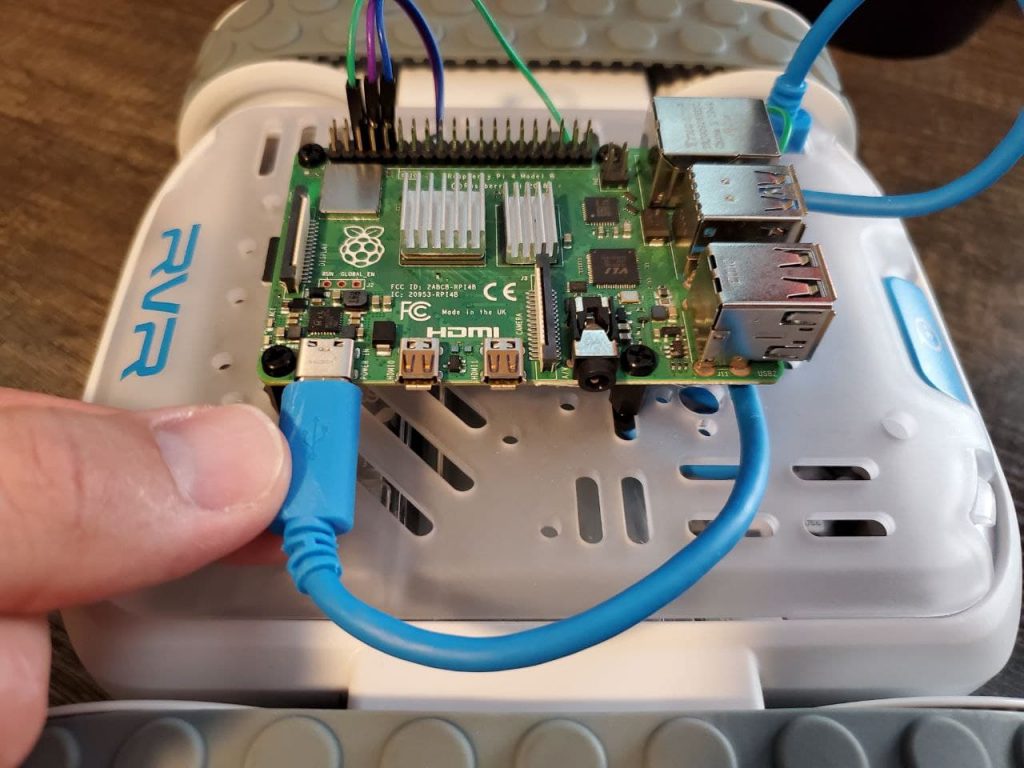
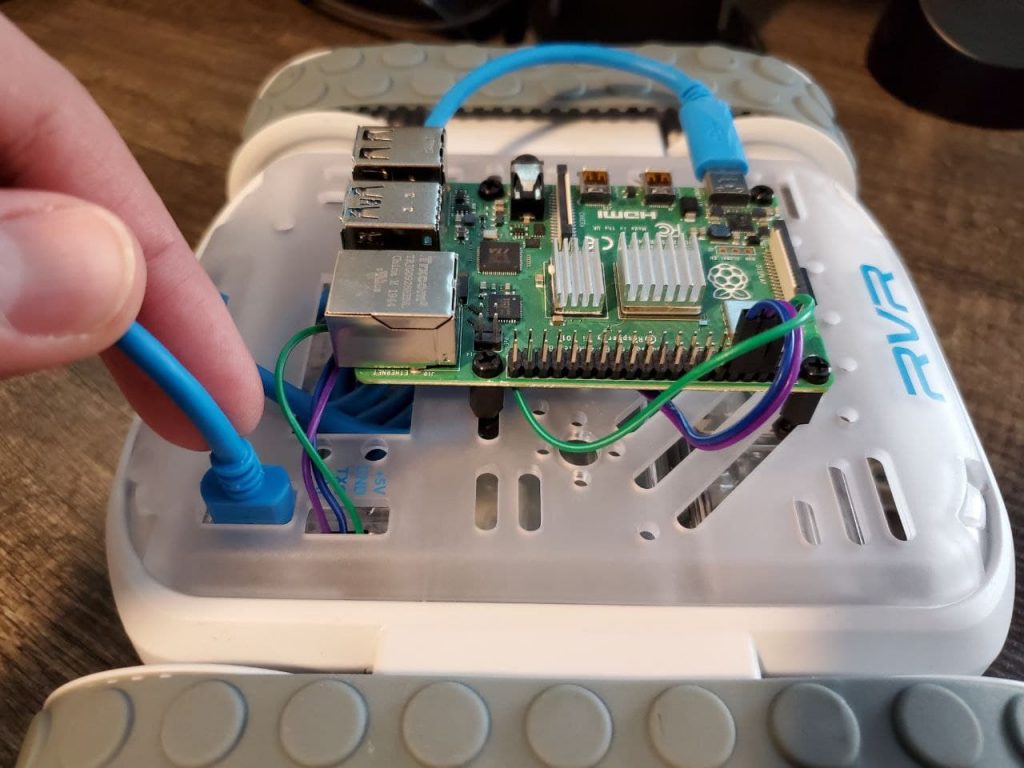
5. Giving the Pi power
Go ahead and give your your Raspberry Pi power in from the connector on the RVR. Pictured is a Raspberry Pi 4, if you have a Raspberry Pi 3 b+ it will work exactly the same, it’s just giving power to the Pi from the RVR battery. Do your best to tuck the cable away.
Now when we power on the RVR, the Raspberry Pi should turn on at the same time! Please remember to remove and charge the battery when you are done with it, leaving the battery in the RVR (even with the power off) will drain it!
6. We’re done here! Move onto the next section when you’re ready.
YouTube Walk-through: https://youtu.be/K_pvmWs7sh0
Next Section: Raspberry Pi – First ‘driven’ program
Return to main: Raspberry Pi – Introduction and how to’s